iPhone Not Charging When Plugged In: Why Your iPhone Won’t Charge
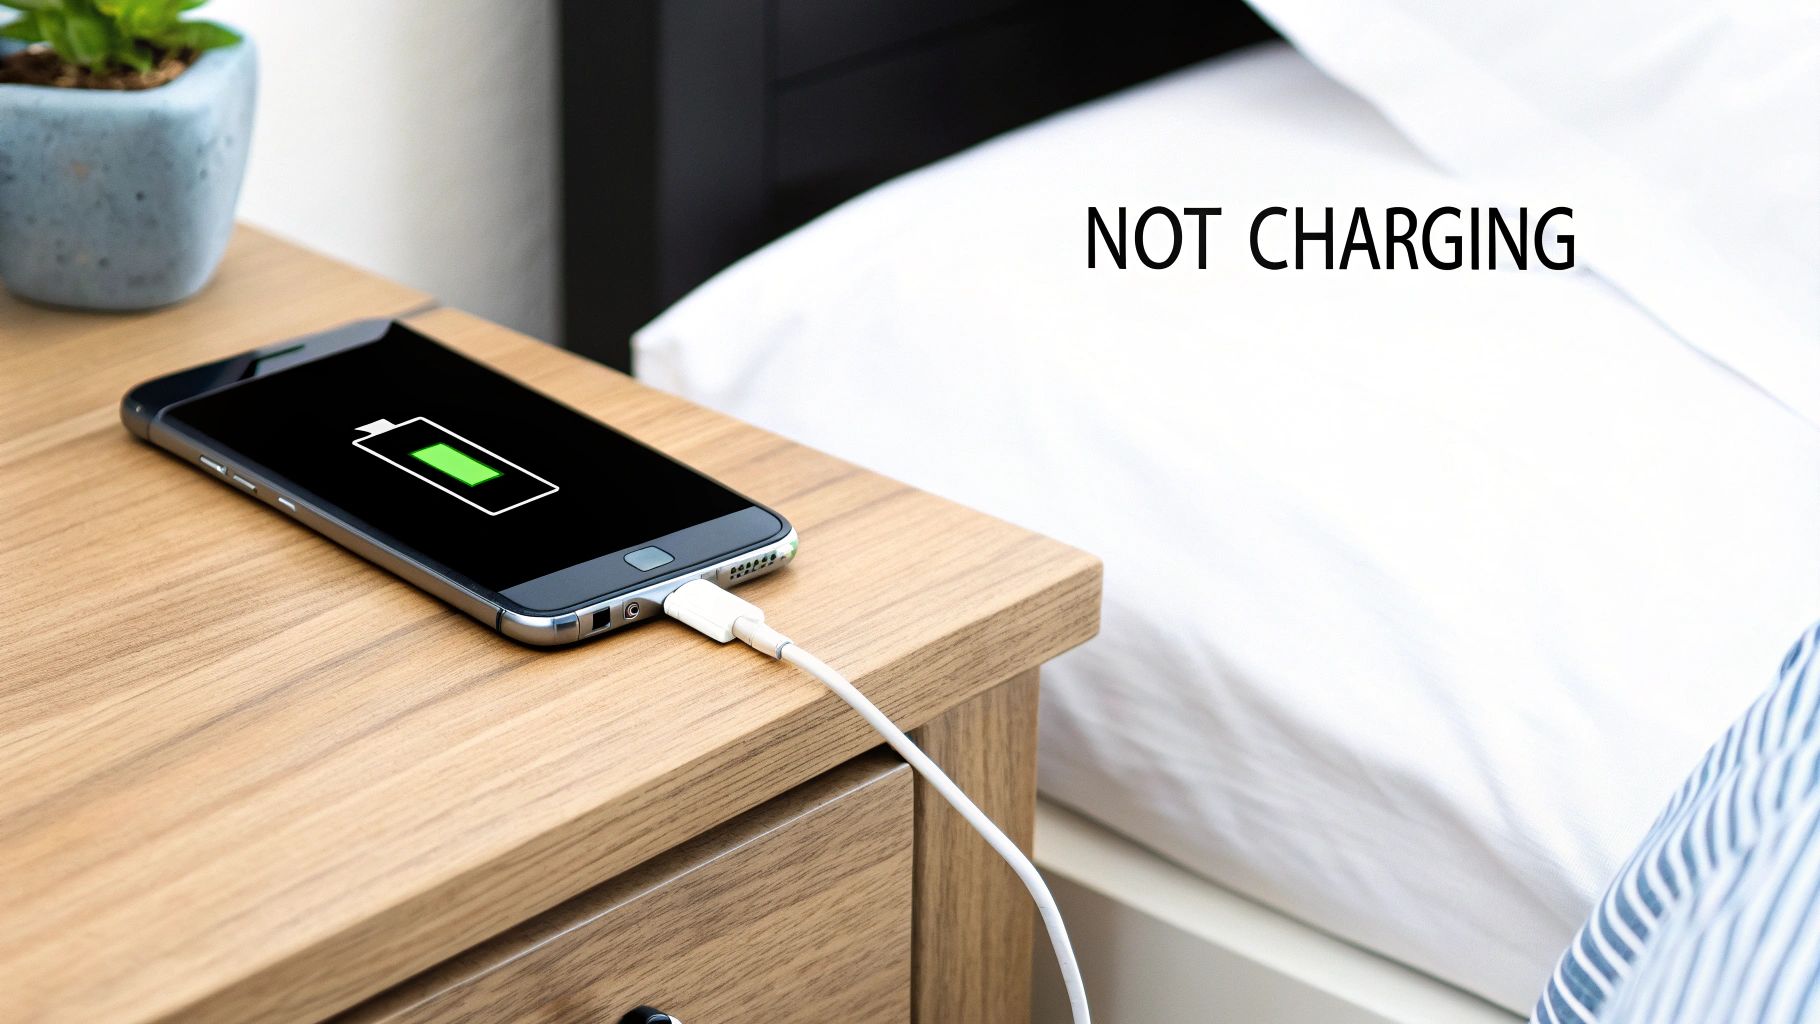
That sinking feeling when you plug in your iPhone and… nothing happens. The little battery icon stays stubbornly empty. It’s a moment of tech-panic we’ve all been through.
Before you jump to conclusions about a dead battery or a busted phone, take a deep breath. Most of the time, the fix is surprisingly simple. The issue is often just a minor software glitch or a problem with the power source itself, not a major phone problem.
So, let's walk through the easy stuff first. We're going to start with the basics that solve the problem for most people.
Your Quick Fix Checklist When Your iPhone Is Not Charging
We'll begin with the simplest and most effective solution: a good old-fashioned restart. It’s like giving your phone’s brain a quick reboot, which can instantly clear out weird software glitches that might be blocking it from recognizing the charger. After that, we’ll double-check your power source.
Here's a quick rundown of the first things to try. Running through this table can often get you back up and running in just a few minutes.
Initial Troubleshooting Checklist
| Action to Take | Why It Works | Time to Complete |
|---|---|---|
| Plug into a different wall outlet | Rules out a dead or faulty outlet as the cause. | < 1 minute |
| Try another USB port on your computer | Some USB ports, especially on older computers or keyboards, don't provide enough power. | < 1 minute |
| Bypass any power strips or extension cords | A faulty or overloaded power strip can prevent a good connection. | < 1 minute |
| Perform a force restart on your iPhone | Clears temporary software bugs that can mess with the charging process. | 1-2 minutes |
These quick checks are your first line of defense and solve more charging problems than you'd think.
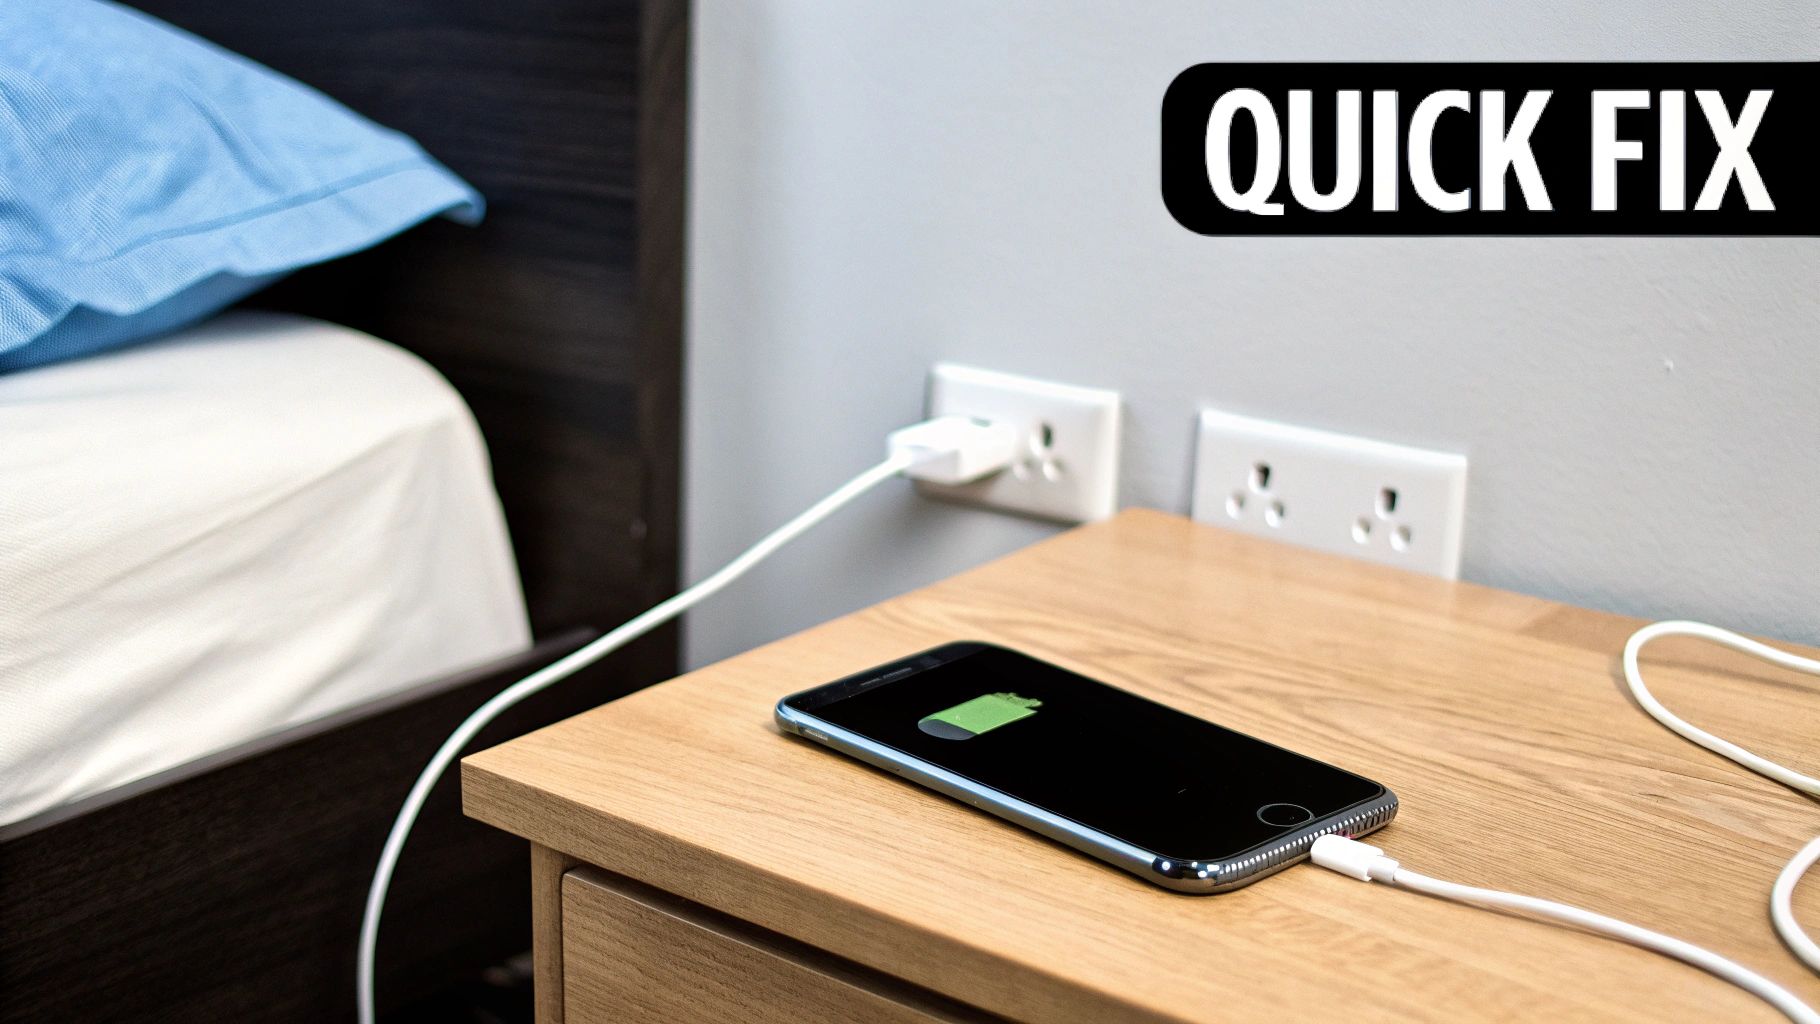
Check Your Power Source
Let's look at your power source. It sounds almost too obvious, but you’d be surprised how often the wall outlet or the USB port is the real problem. I once spent an hour convinced my phone was broken, only to realize the power strip I was using was switched off. It happens to the best of us.
To make sure your power source isn't the issue, give these a shot:
- Try a completely different wall outlet. The best way to test this is to plug into a socket you know is working—one that’s currently powering a lamp or another device.
- Switch up your USB ports. If you're charging from a laptop or desktop, try a different port. Ports on the back of a desktop computer often provide more reliable power than ones on the front.
- Go direct. Plug your charging adapter straight into the wall, completely bypassing any extension cords or power strips.
This simple decision tree is a great way to visualize these first crucial steps.
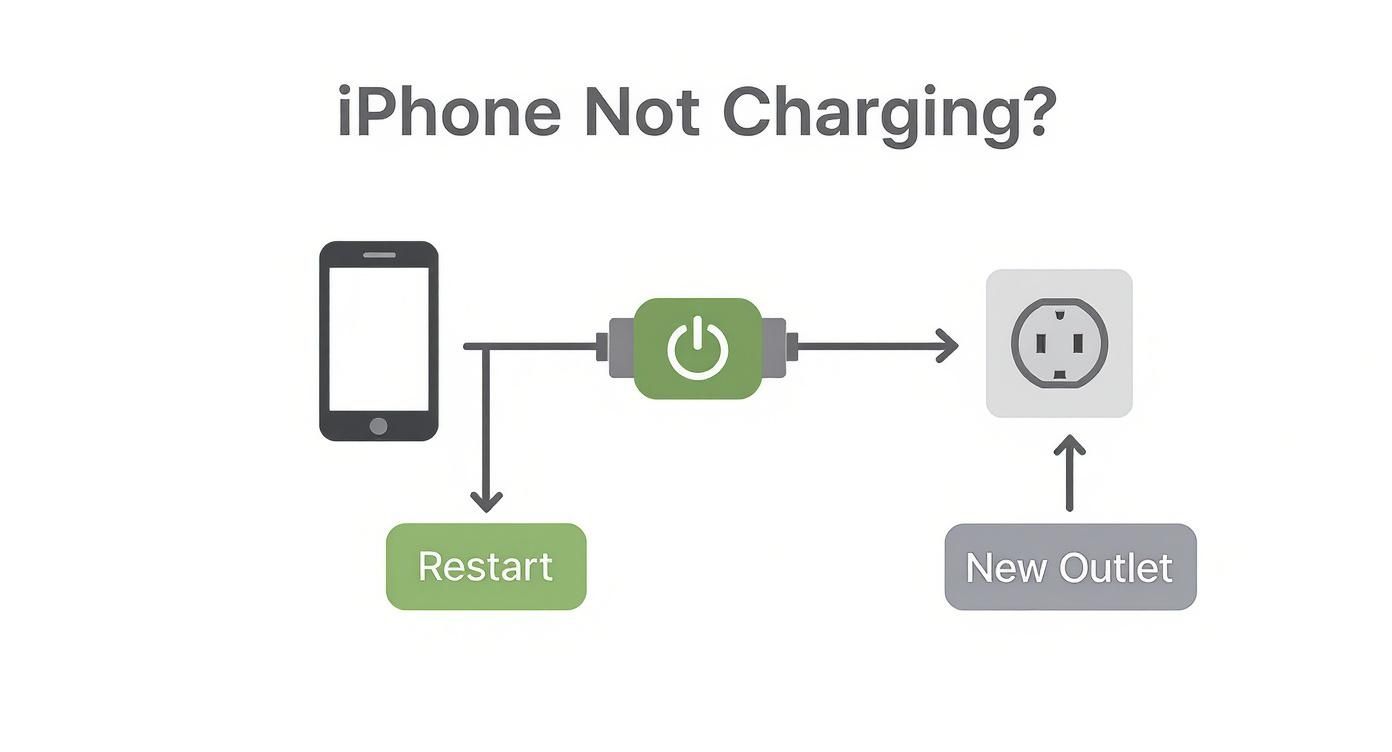
Before you start worrying about a frayed cable or a damaged phone, you always want to rule out the simple things first. A software glitch or a bad outlet is a much easier fix.
Perform a Force Restart
If you’ve tried a few different power sources and still have no luck, a force restart is your next best move. This is a deeper reboot than just turning your phone off and on again. It’s much better at clearing out stubborn software bugs that can mess with charging.
Don't worry—a force restart won't erase any of your data. It's a completely safe and powerful way to refresh your iPhone's system when it gets stuck on something, like a bug that stops it from charging.
By quickly ruling out these common issues, you can move on to the next steps—like checking your cable and cleaning out the charging port—with more confidence.
If your wall outlet is fine but the iPhone still refuses to charge, it's time to look at the accessories you handle every single day: the charging cable and the power adapter.
Let's be honest, we put these things through a lot. They get twisted, yanked, stepped on, and crammed into bags without a second thought. All that daily abuse adds up, causing hidden damage that can stop the connection, even if the cable looks perfectly fine from the outside.
This constant physical stress is the number one killer of charging cables. I've seen it countless times. The weakest part is always where the flexible cable meets the hard plastic connector. The tiny wires inside just can't handle being bent back and forth forever and eventually, they break.
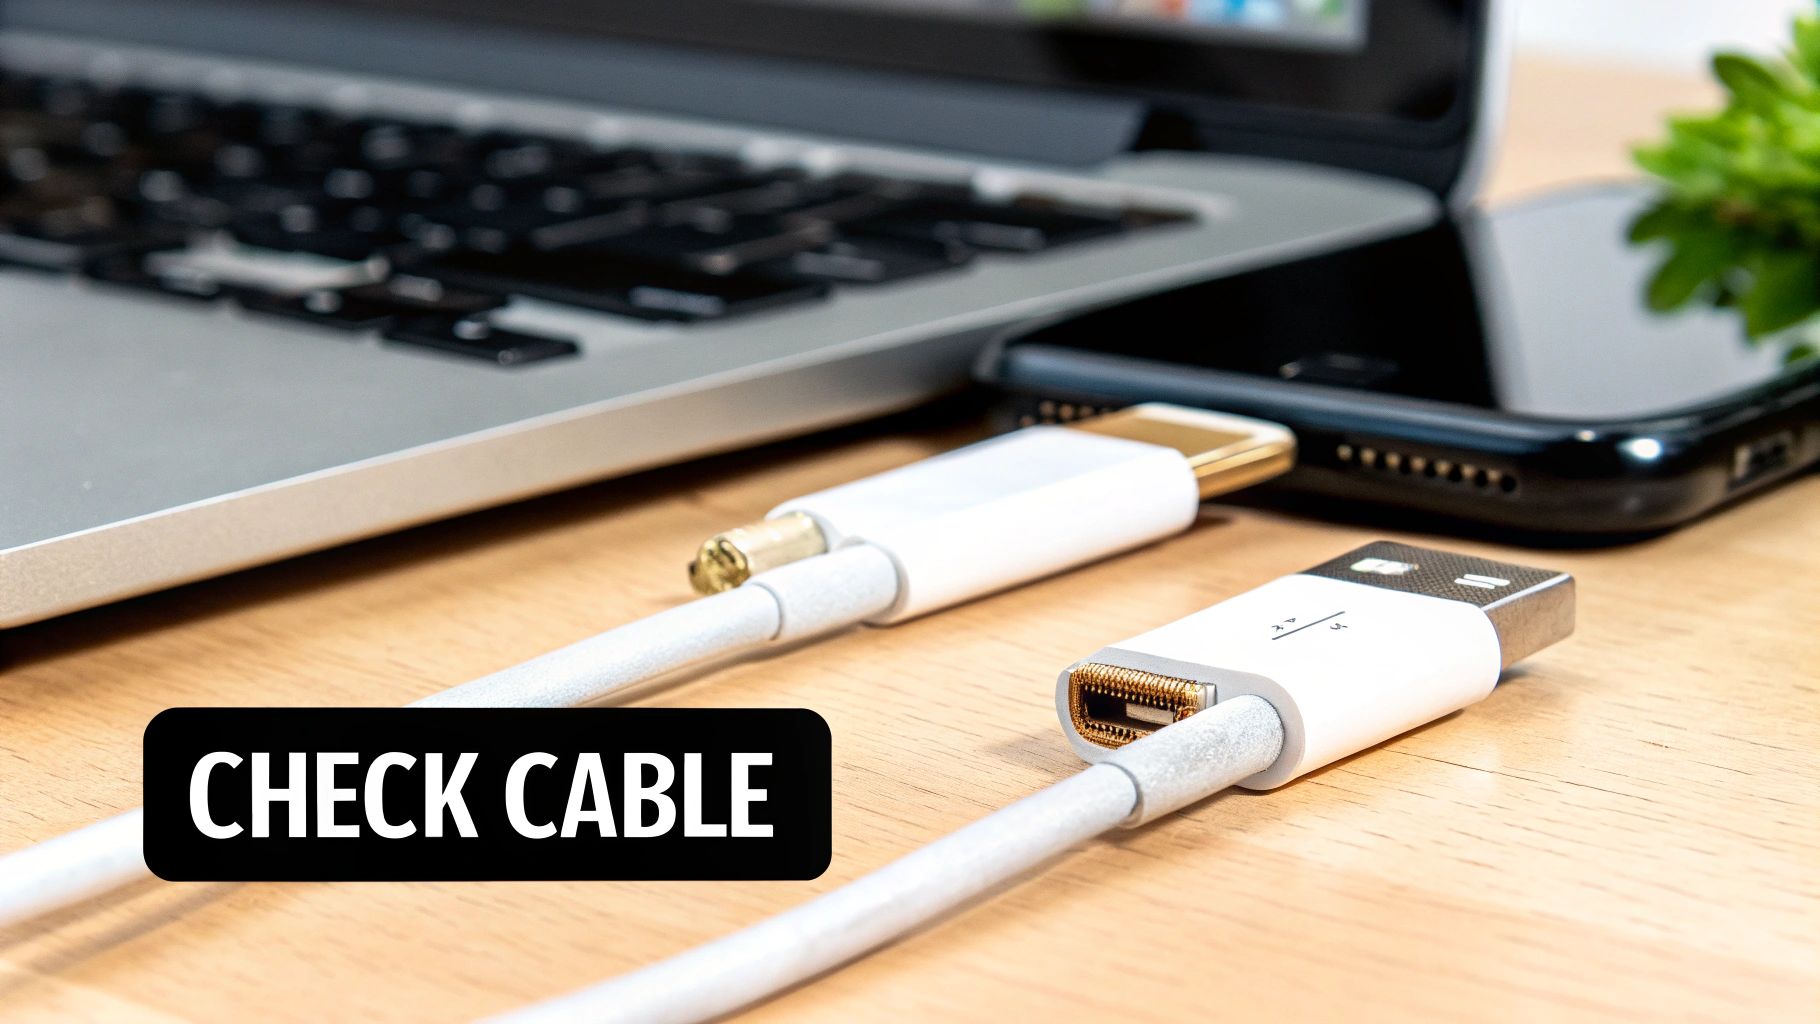
Looking at Your Charging Gear
Your first move should be a quick visual check of your gear. Start with the cable and pay close attention to the ends, as that's where trouble usually starts.
- Frayed Wires: Do you see any exposed or frayed wiring near the connector heads? Even a tiny break in the outer rubber cover is a major red flag.
- Bent or Damaged Pins: Grab a light and look closely at the Lightning or USB-C connector. The gold pins should be perfectly straight, clean, and shiny. If anything looks bent, dirty, or discolored, you've likely found your problem.
- Loose Connectors: Gently wiggle the connector head. If it feels wobbly or loose, the connections inside are probably broken.
Now, give your power adapter—the little brick that plugs into the wall—the same treatment. Check for bent prongs, cracks in the plastic, or any strange discoloration or burn marks around the USB port. These are all dead giveaways that the adapter has failed and needs to be replaced.
If you want to learn more about adapters, our guide on the best Type C adapter is a great resource.
The Risk of Uncertified Accessories
It's tempting to grab that super cheap charging cable from the gas station or a random online seller, but trust me, it’s almost always a bad idea. Apple has a certification program called MFi (Made for iPhone) for a reason. It ensures that other companies' accessories meet their strict safety and quality standards.
Those uncertified, knock-off chargers often skip the essential internal parts needed to manage power correctly.
Using uncertified gear isn't just unreliable—it can be downright dangerous. These accessories can feed your iPhone inconsistent power that slowly damages the battery or, in rare cases, even pose a safety risk.
This is a massive problem globally. In growing markets like India, Indonesia, and Brazil, a shocking 27% of iPhone users had a total charging failure in the last 18 months. And get this: a staggering 68% of those cases were traced directly back to using cheap, uncertified cables and adapters.
The Swap Test: An Easy Way to Check
The absolute easiest way to figure out if your cable or adapter is the problem is with a simple swap test. Find a cable and adapter that you know for a fact are working—borrow one from a family member or grab a spare you trust.
First, try charging your iPhone using the known-good cable with your original adapter. If it lights up and starts charging, you know your old cable was the issue.
Still no luck? Okay, keep the good cable plugged in, but swap out your adapter for the one you know works. If it starts charging now, your adapter was the faulty part all along. This simple process can save you a ton of frustration and guesswork.
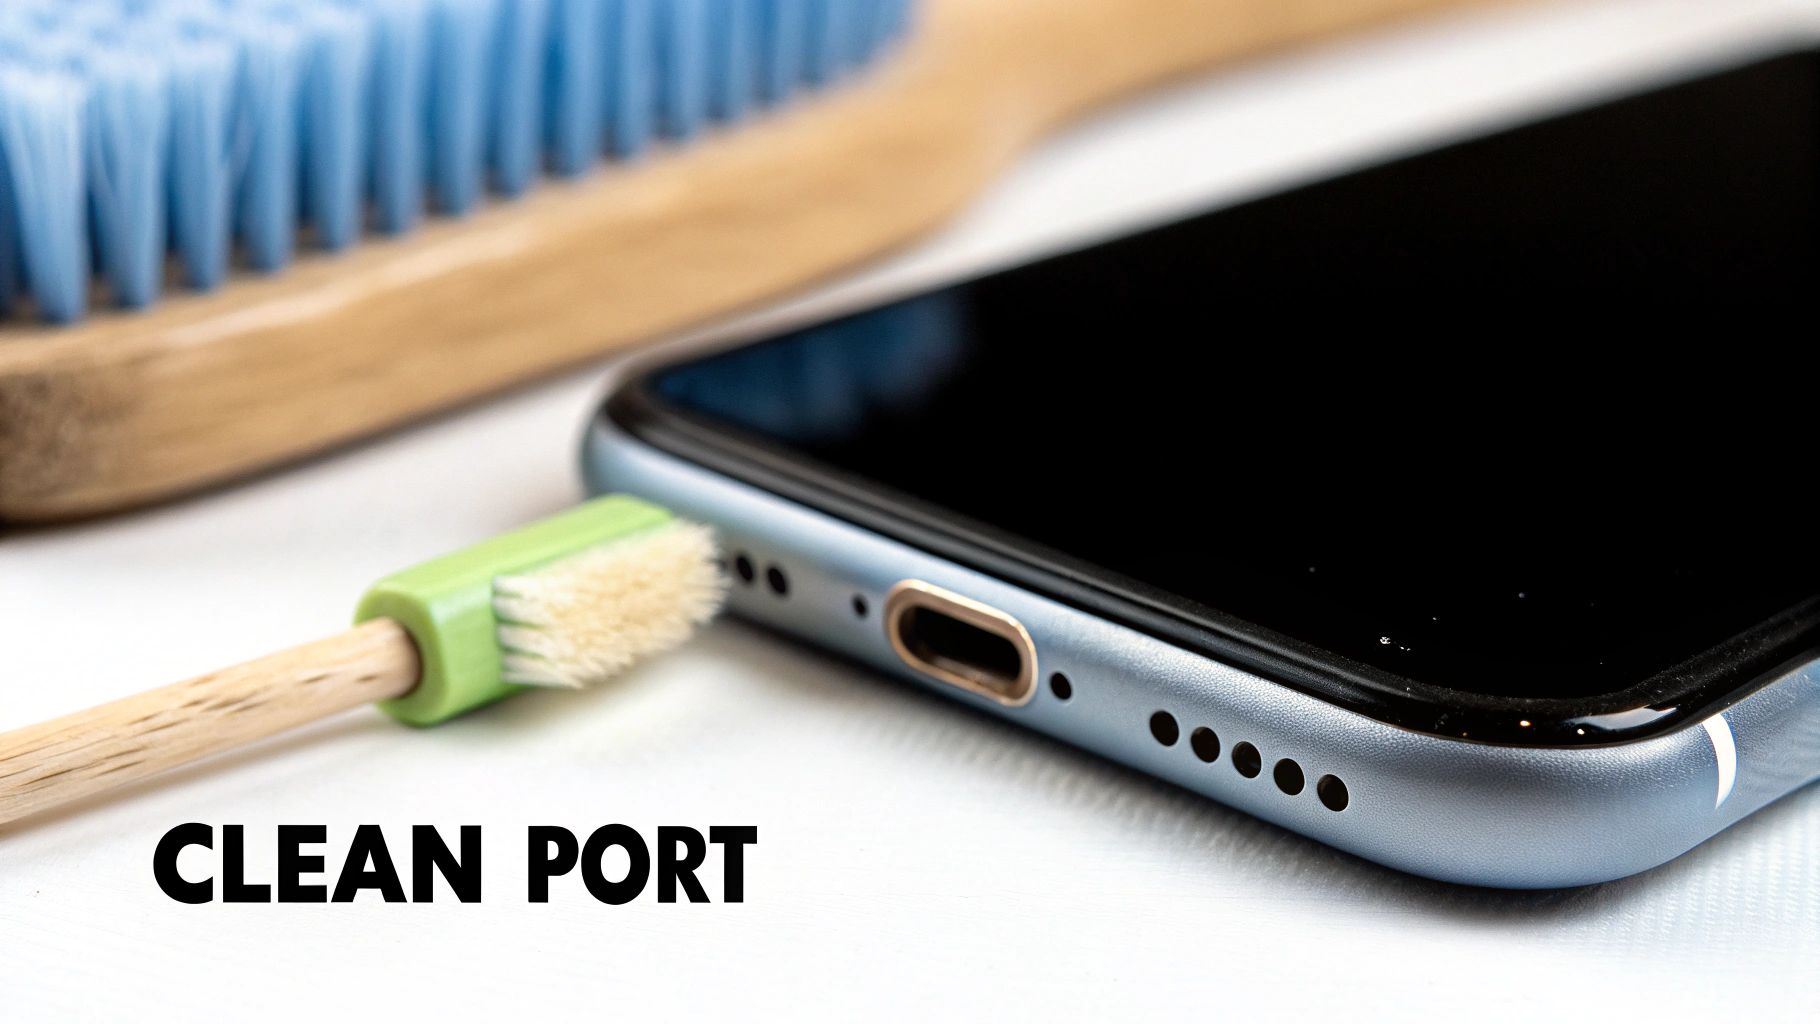
If you’ve ruled out the cable and the power adapter, the real culprit is probably hiding in plain sight. Take a look at your iPhone’s charging port. It’s a magnet for pocket lint, dust, and all sorts of tiny gunk.
Every single time you plug in your cable, you're unintentionally packing that debris down tighter and tighter. After a few months, this buildup can physically block the metal contacts, and it's one of the most common reasons an iPhone is not charging when plugged in. The good news? It’s also one of the easiest problems to fix yourself.
Think of it like trying to plug a lamp into an outlet that’s already full of dirt. When the charging cable can't make a solid, clean connection with the pins inside the port, no power gets through. Nothing happens.
This isn't some rare fluke; it's incredibly common. Repair technicians see this all the time. In fact, an analysis by iFixit and various repair networks revealed that dust and lint in the charging port were responsible for nearly 60% of port-related charging failures. Better yet, over 40% of these cases were solved with nothing more than a careful cleaning. You can read more about how common these hardware issues are in this analysis of smartphone shipments.
The Right Tools for the Job
Before you start poking around in there, let’s talk tools. It’s critical to use the right ones. Your first instinct might be to grab a metal paperclip, a safety pin, or even your SIM ejector tool. Don't do it. This is a huge mistake.
The charging port is lined with delicate contact pins that you can easily scratch, bend, or short-circuit with anything metal.
Important Safety Tip: Never, ever use metal objects to clean your iPhone’s charging port. Sticking metal inside can cause permanent damage to the charging contacts or even short out parts on the phone's main board. You could turn a simple fix into a very costly repair.
Instead, you need to stick with non-metal and softer materials. Here’s what works:
- A wooden toothpick: The soft wood is perfect for gently scraping and digging out packed-in lint without harming the metal pins.
- A soft-bristled brush: An old, clean toothbrush or a small anti-static brush is great for sweeping out looser dust.
- Canned air (with caution): A quick, angled blast can push out stubborn debris. Just never hold it too close or spray directly into the port—the force and moisture can cause damage.
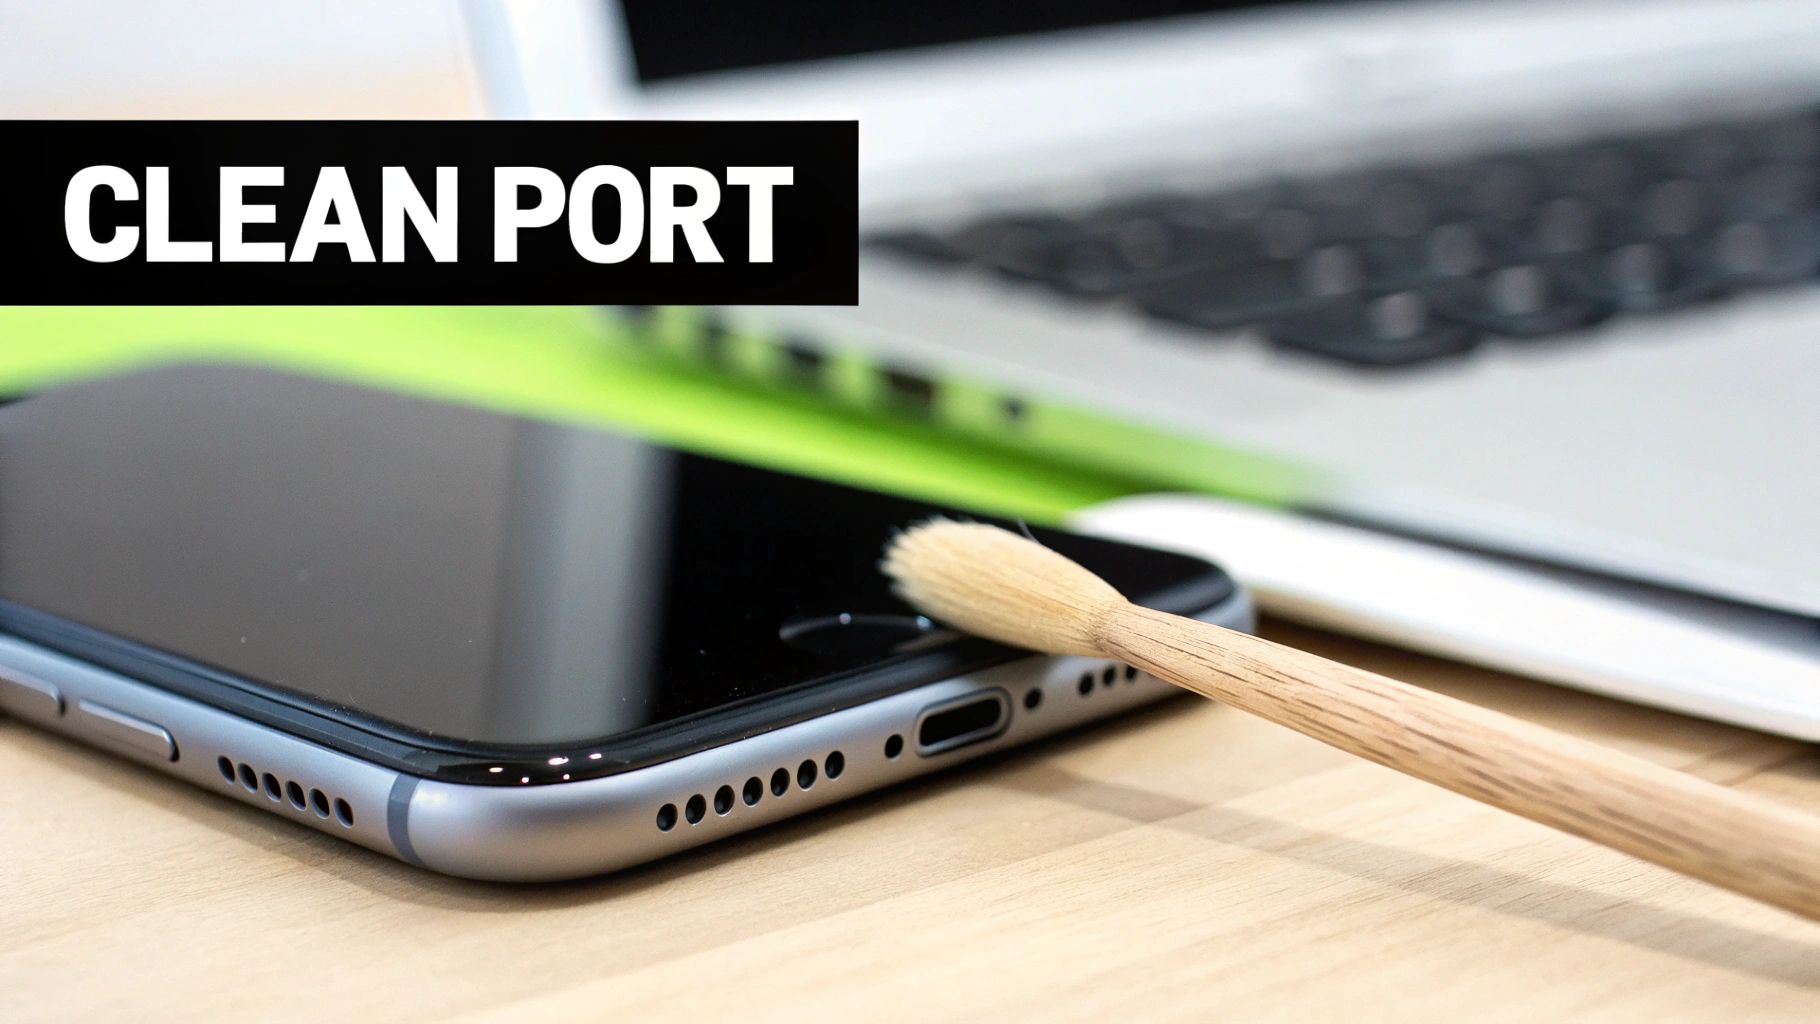
How to Clean the Port Without Breaking Anything
Ready to clear out all that gunk? Find a well-lit area and follow these simple steps to safely clean your charging port.
- Power Down Your iPhone. Seriously. Always turn your iPhone completely off before you start. This removes any risk of an electrical short.
- Get a Good Look Inside. Grab a flashlight and shine it into the port. You might be shocked at how much lint is packed in there. It often looks like a gray, fuzzy mass stuck at the very bottom.
- Gently Scrape with a Toothpick. Take your wooden toothpick and carefully insert it. The key is to scrape along the inside walls of the port—the flat sides—to loosen everything up. Work around the middle block of contact pins, not directly on top of them.
- Scoop It All Out. Now, use the toothpick to gently scoop out the lint you've loosened. You’ll probably have to do this a few times to get it all.
- Finish with a Brush or Air. Once the big stuff is gone, use a soft brush to sweep out any remaining dust. Or, give it a short, angled puff of canned air from a safe distance.
Once the port looks totally clean, power your iPhone back on and try plugging it in again. More often than not, you'll feel the cable click firmly into place, and your phone will finally start charging.
If you've checked all the hardware and everything seems fine, the next place to look is inside your iPhone's brain: the software. It’s a common misconception that charging is just a simple electrical process. In reality, your iPhone is running complex code to manage power safely, and sometimes a tiny bug in iOS can throw a wrench in the works.
When a software update has a minor glitch or a background process gets stuck, your iPhone might mistakenly block charging as a false safety measure. It’s more common than you’d think, but the fix is often surprisingly simple.
Installing the Latest iOS Updates
Apple is constantly squashing bugs, and those frequent "bug fixes and performance improvements" you see in iOS updates often include patches for weird power management issues. A glitch that’s preventing your phone from charging in one version could very well be fixed in the next.
It's a quick check. Just go to:
Settings > General > Software Update
If an update is waiting for you, go ahead and install it. Just make sure you have a decent amount of battery left and a solid Wi-Fi connection. You’d be surprised how often this alone gets things moving again. If you're curious about how developers catch these kinds of issues before they get to you, it's worth looking into the principles of software testing.
Understanding Optimized Battery Charging
Have you ever plugged your iPhone in overnight and woken up to find it stuck at 80%? That’s not a bug. It’s actually a clever feature called Optimized Battery Charging. Apple introduced this to help your battery live a longer, healthier life by reducing the time it spends sitting at a full 100% charge, which is stressful for the battery.
Your iPhone actually learns your daily routine. It charges up to 80% and then waits, timing the final 20% to finish right before you usually wake up. It’s brilliant for battery health but can definitely be confusing. You can find the switch for it here:
Settings > Battery > Battery Health & Charging
If you need a full charge right away, you can just turn it off temporarily.
Key Takeaway: If your iPhone pauses charging at 80%, don't panic. It's likely just protecting its own battery. While great for the long run, you always have the option to turn it off when you need to.
Checking Your Battery's Health
Finally, the problem might just be an old, tired battery. Every battery has a limited lifespan. As they age, their ability to hold a charge simply fades. Your iPhone actually has a built-in tool that tells you exactly where it stands.
Head over to Settings > Battery > Battery Health & Charging and look for "Maximum Capacity." A new iPhone should be at 100%. Over time, that number will drop. Once it dips below 80%, you’ll likely see a service message, and that’s a clear sign the battery is on its way out. A worn-out battery will struggle to charge properly, no matter how perfect your cable and charger are. We cover this in much more detail in our guide on how to check battery health.
Advanced Fixes and When to Call a Professional
So, you’ve restarted your iPhone, swapped out the cable and charger, and even carefully cleaned the charging port. You’ve checked for software updates, and still… nothing. If your iPhone is stubbornly refusing to charge, you’ve likely moved beyond the simple fixes and are now facing a more serious hardware problem.
This is the point where you have to be honest with yourself. Continuing to poke and prod on your own could easily do more harm than good. Recognizing when you've hit your limit is the key to getting a proper, safe repair without turning a fixable issue into an expensive paperweight.
When charging problems won’t go away, the trail usually leads to one of three culprits: a failing battery, a physically damaged charging port, or a much deeper issue with the phone's main circuit board (the logic board).
Identifying Deeper Hardware Problems
Let's start with the charging port. It takes a lot of abuse. If the port feels loose when you plug in the cable, or if you have to jiggle the connector just right to get that little lightning bolt to appear for a split second, the internal pins are probably worn out or broken. No amount of cleaning can fix that kind of physical damage. For a closer look at what goes wrong inside, a complete guide to iPhone charging dock repair can shed more light on the mechanical side of things.
The battery itself is another prime suspect. All batteries age, and once your iPhone’s battery health drops a lot (Apple flags anything below 80%), it can start refusing a charge. Telltale signs of a dying battery include the phone dying way too fast, shutting down out of nowhere even with charge left, or getting uncomfortably hot.
The most complex and serious hardware issue is a problem with the logic board—the brain of your iPhone. Damage here is not a DIY job; it often requires microscopic repair by a specialist.
A Final Software Resort: The DFU Restore
Before you give up on software completely, there is one final, drastic step you can try: a Device Firmware Update (DFU) restore. Think of it as the nuclear option. This isn't your standard iTunes restore; it's a deep system wipe that reinstalls every single bit of your iPhone’s software from scratch. On rare occasions, it can fix incredibly stubborn, deep-level bugs that are blocking the charging process.
But I can't stress this enough: a DFU restore should be your absolute last resort.
- It erases everything. All your photos, messages, and data will be gone for good if you don't have a backup.
- It can fail. If the process gets interrupted for any reason, it can "brick" your iPhone, leaving it completely unusable.
- It won't fix hardware. If the problem is a broken port or a dead battery, a DFU restore will do nothing but waste your time and delete your data.
Knowing When to Get Professional Help
So, how do you know it’s time to call in the pros? It's time to contact Apple Support or find a reputable repair shop if you see any of these red flags:
- The charging port is visibly damaged, or the cable feels wobbly and loose inside it.
- Your iPhone only charges when you hold the cable at a very specific, magical angle.
- The device gets extremely hot to the touch when you try to charge it.
- You've tried multiple certified cables, power adapters, and outlets, and nothing works.
- Your iPhone is completely dead and won't turn on, even after being plugged in for hours.
At this stage, an expert technician can run tests to figure out if it's the battery, the port, or the logic board. They have the right tools to perform a safe repair without risking further damage to your device.
Proactive Tips to Prevent Future Charging Issues
Alright, now that your iPhone is back to charging properly, let's talk about how to keep it that way. The last thing you want is to go through all that troubleshooting again. A few simple habits can make a world of difference, not just in preventing charging problems but in extending your battery's overall life.
The biggest enemy of your iPhone's battery is extreme charging. Constantly running it down to 0% before plugging it in, or leaving it on the charger at 100% for hours on end (like overnight), puts a ton of stress on the battery. Think of it like a muscle – you don't want to constantly push it to total exhaustion or keep it tensed for hours. A good rule of thumb is to keep your battery somewhere in the 20% to 80% sweet spot as much as possible.
Smart Charging for Long-Term Health
Of course, nobody wants to babysit their phone's battery percentage all day. That’s where smart charging tools come in. A little device like Chargie, for example, is a game-changer. It physically stops the charging process once your iPhone hits a level you set, so you can plug it in overnight without worrying about it sitting at 100% for hours and slowly cooking the battery.
As you can see on their site, tools like this are built to automate those healthy charging habits, which can have a huge impact on how long your battery stays in good shape.
Another simple trick is to get into the habit of checking your charging port for lint or debris before it gets packed in there. Just a quick peek with a flashlight every few weeks can save you a lot of trouble down the road. For a deeper dive, you can find more great iPhone battery saving tips to really maximize your device's health.
By treating your battery and charging port with a little care, you're not just avoiding a charging issue—you're preserving the long-term health and value of your device.
A Few Common Questions We Hear All the Time
If your iPhone is giving you charging headaches, you're not alone. It's a frustrating spot to be in, and naturally, you've probably got a few questions. Here are the simple, straight-up answers to the ones we get asked most often.
"Why Does My iPhone Stop Charging at 80 Percent?"
Nine times out of ten, this is Apple's Optimized Battery Charging feature doing its job. Your iPhone is pretty smart—it actually learns your daily routine. To keep the battery from aging too quickly, it intentionally hits pause at 80% and then tops it off just before it thinks you’ll need it.
The only other common reason is heat. If your iPhone gets a bit too toasty, it will stop charging as a safety precaution. You can always check or disable this feature yourself under Settings > Battery > Battery Health & Charging.
"Can I Use Just Any Charger for My iPhone?"
While a lot of chargers might seem to work, it's always best to stick with ones that are MFi-Certified (that stands for Made for iPhone). Using a cheap, uncertified charger is a gamble—it might charge agonizingly slow, die on you unexpectedly, or worse, send unstable power to your phone and cause real, long-term damage to the battery.
A little pro tip: Always look for that MFi logo on the box. It’s a small detail, but it’s your best guarantee for safety and knowing the thing will actually work reliably.
"Is It Normal for My iPhone to Get Hot While Charging?"
A little bit of warmth is totally normal, especially when you first plug it in. But if it gets so hot you can barely hold it, that's a red flag. Your iPhone's software is designed to protect the internal parts, so it might slow down or stop charging completely if it senses things are getting out of hand.
If this happens, the first thing to do is take the case off and move the phone somewhere cooler. If the heat still feels like way too much, unplug it right away and get it checked out.
Honestly, the best way to dodge future charging problems is to take care of your battery from the get-go. With a gadget like Chargie, you can put healthy charging habits on autopilot, seriously extending your battery's lifespan. It's all about making sure your iPhone is ready to go when you are. Learn more about it at https://chargie.org.